30 Scary Pumpkin Carving Designs for Halloween
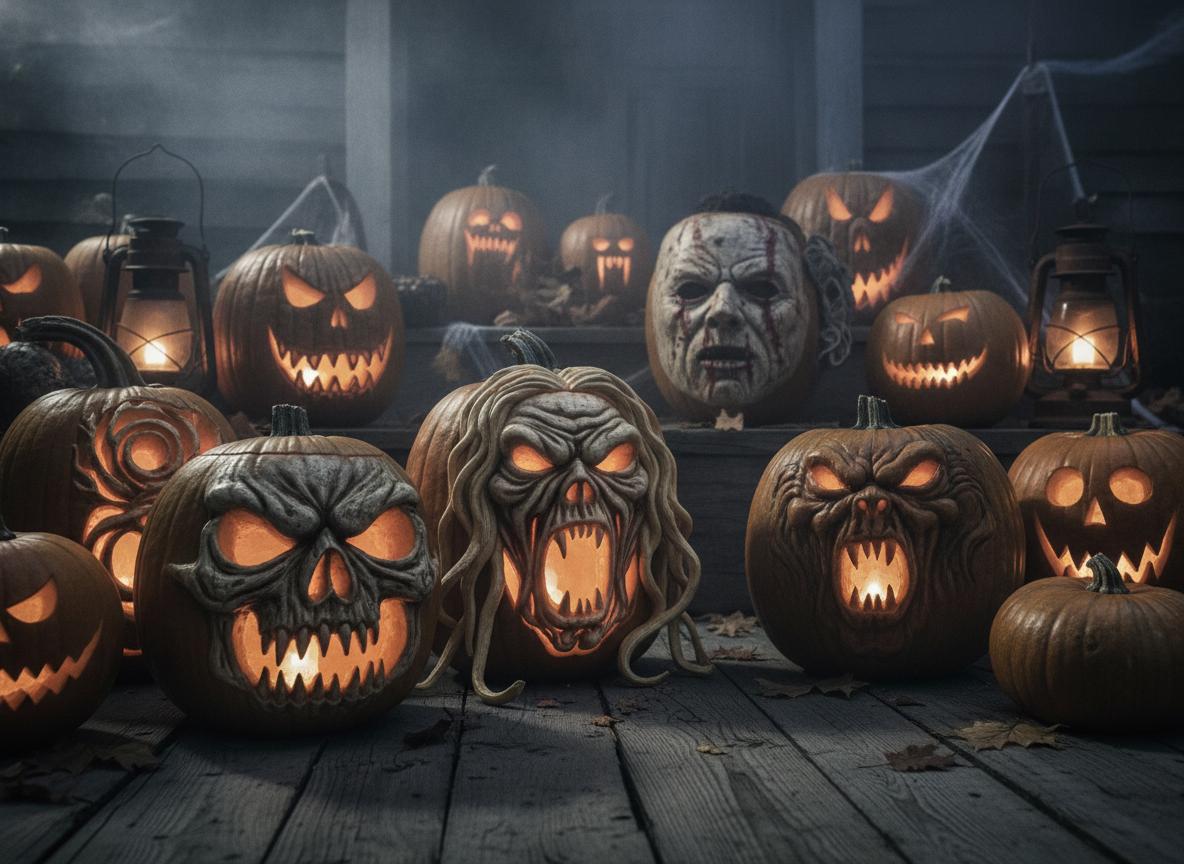
If you’re searching for scary pumpkin carving designs for Halloween, you’ve already decided that the basic jack-o’-lantern isn’t going to cut it this year — and good. The classic triangle-eyed grin belongs on a kindergarten bulletin board, not on the porch of someone who takes October seriously.
The problem most carvers run into isn’t ambition, it’s execution. You’ve got the vision — a hollow-eyed skull, a shrieking banshee face, a horror-movie villain rendered in orange flesh — but without the right design guidance and a few key techniques, you end up with a sagging mess by October 30th.
In this guide, you’ll get 30 genuinely unsettling pumpkin carving ideas organized by skill level and style, from creepy pumpkin faces that work for first-timers to intricate horror pumpkin carving designs that’ll make your neighbors stop their cars. Every design comes with practical notes so you can actually pull it off.
Beginner-Friendly Creepy Pumpkin Faces That Still Scare
🎃 Products We Recommend:
🎃 CHRYZTAL Pumpkin Carving Kit Tools Halloween 13PCS — A highly-rated, best-selling 13-piece stainless steel carving set perfect for executing scary detailed pumpkin designs.
🔪 7Felicity Professional Halloween Pumpkin Carving Kit 9 Piece — A top-rated 9-piece kit with storage bag and stencils, ideal for carving intricate scary Jack-O-Lantern designs.
👻 Greatever Halloween Pumpkin Carving Kit with 12 Stencils — Comes with 12 pumpkin stencils and a carrying case, making it easy to recreate scary carving designs right out of the box.
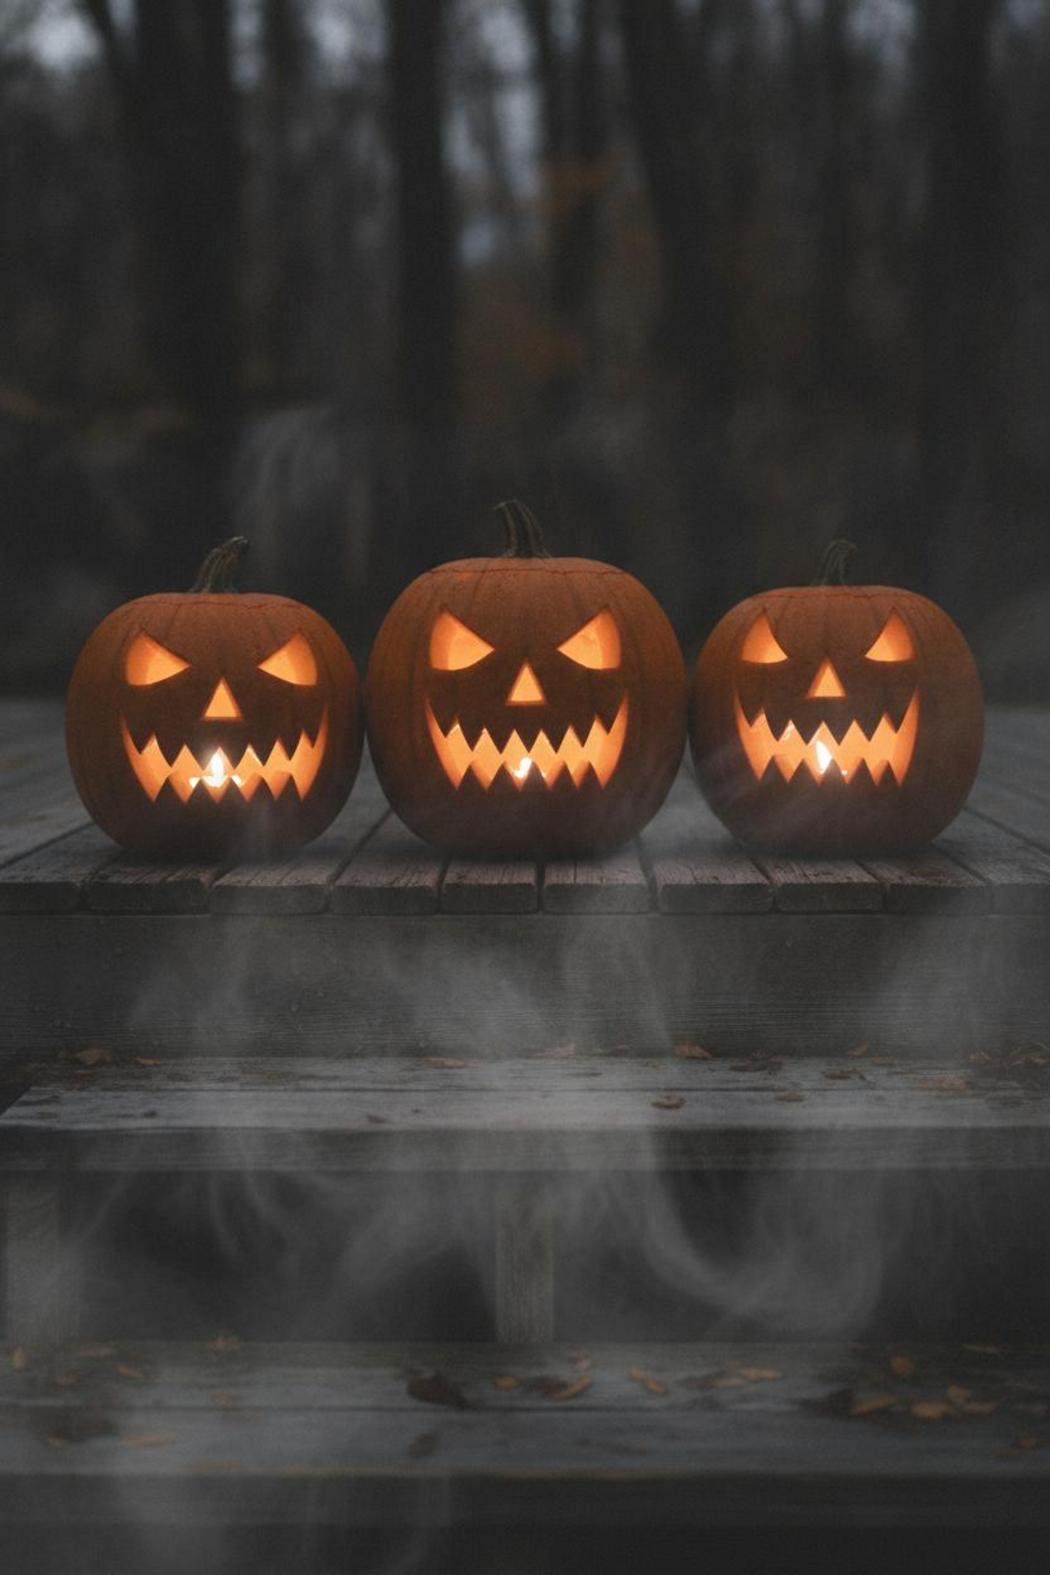
You don’t need to be a master sculptor or own a set of professional carving tools to pull off genuinely unsettling scary pumpkin carving designs for Halloween. Some of the most effective creepy pumpkin faces are built on simple geometry — wide, asymmetrical eyes, a jagged snarl of a mouth, a single deep gouge that suggests something lurking beneath the surface. The trick isn’t complexity. It’s intention. A lopsided grin cut slightly too wide reads as unhinged in a way that a perfectly symmetrical smile never will.
Start with the classic horror pumpkin carving staple: the hollow, sunken stare. Two large, irregular oval eyes — one slightly lower than the other — paired with a mouth full of broken, uneven teeth creates an expression that looks genuinely unwell. Lit from the inside with a flickering LED candle, that kind of asymmetry casts shadows that shift and breathe. Your neighbors won’t linger on the porch.
Another beginner-proof approach is the stretched scream face. Elongate your pumpkin’s features vertically — a long oval mouth dropped low, narrow eyes pulled wide — and you tap directly into that primal, Munch-adjacent dread. It photographs beautifully in the dark and requires nothing more than a basic carving kit and about forty-five minutes of your evening. Pair two or three of these scary jack o lanterns together at different heights on your front steps and the effect compounds fast.
For those who want to push slightly further without committing to a full pattern template, consider the cracked face design. Carve your standard spooky pumpkin face first, then use a thin detail blade to etch shallow, branching crack lines radiating out from the eyes and mouth — not cut through, just scored into the skin. When the candle glows, those lines light up like fractures in something that should have stayed buried. It’s subtle, and that subtlety is exactly what makes it land harder than an over-carved showpiece.
The core principle across all of these spooky pumpkin ideas is contrast. Dark against light, smooth against jagged, stillness against the suggestion of movement. You’re not just decorating a gourd — you’re building a tiny theater of unease on your doorstep. Get that right, and it doesn’t matter whether you’ve been carving for twenty years or twenty minutes.
Intermediate Horror Pumpkin Carving: Skulls, Monsters, and the Undead
🎃 Products We Recommend:
🎃 CHRYZTAL Pumpkin Carving Kit Tools Halloween 13PCS — A highly-rated, best-selling 13-piece stainless steel carving set perfect for executing scary detailed pumpkin designs.
🔪 7Felicity Professional Halloween Pumpkin Carving Kit 9 Piece — A top-rated 9-piece kit with storage bag and stencils, ideal for carving intricate scary Jack-O-Lantern designs.
👻 Greatever Halloween Pumpkin Carving Kit with 12 Stencils — Comes with 12 pumpkin stencils and a carrying case, making it easy to recreate scary carving designs right out of the box.
You’ve graduated past the triangle eyes and gap-toothed grins. Now it’s time to carve something that actually makes people stop on the sidewalk — something that earns a genuine double-take from the neighbors and maybe a nervous laugh from their kids. This is where the real fun begins. These intermediate scary pumpkin carving designs for Halloween pull from the classic horror playbook: decomposing skulls with hollow eye sockets, snarling monsters with layered teeth, and undead faces that look like they clawed their way out of the ground. The designs demand more patience and a steadier hand, but nothing about them is out of reach if you’re willing to slow down and commit to the work.
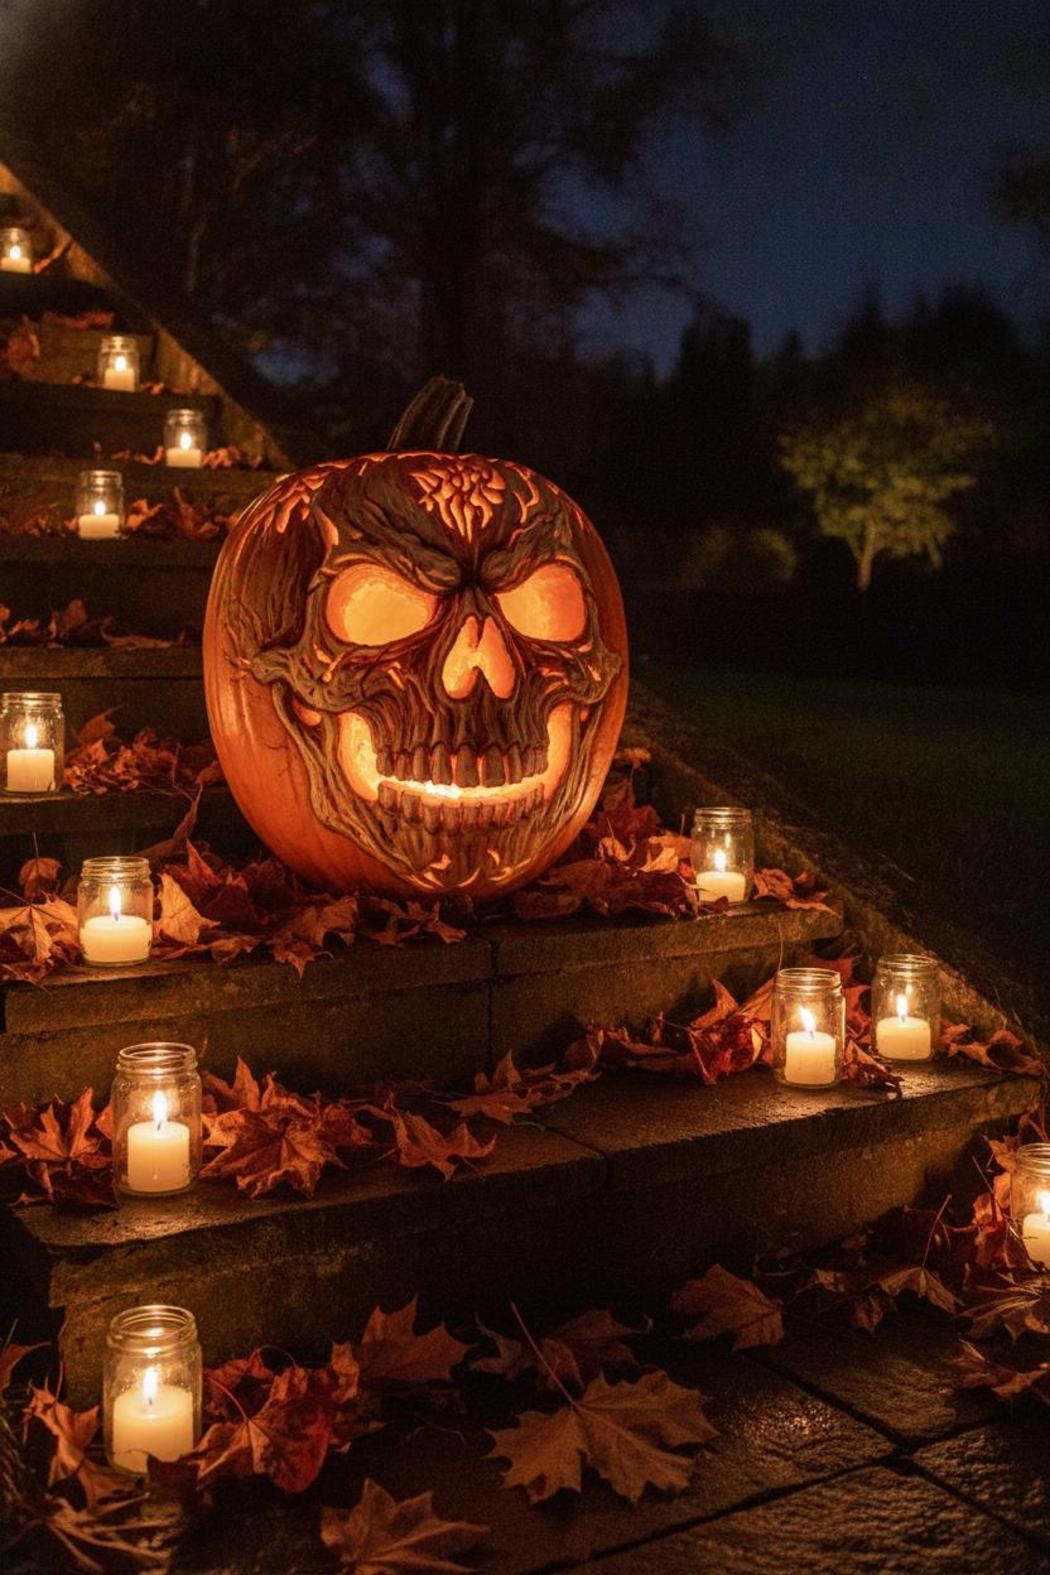
Skulls are the backbone of horror pumpkin carving at this level, and the reason is simple — a well-executed skull on a pumpkin looks genuinely unsettling in a way that a basic face never does. The key is depth. Instead of carving all the way through, use a linoleum cutter or a thin detail knife to shave away the outer skin in stages, leaving thinner sections that glow with a dim, eerie light when your candle or LED is lit inside. Cheekbones, cracked foreheads, and exposed nasal cavities all benefit from this partial-carve technique. The result is something that looks more like a relic than a decoration.
Monsters and undead creepy pumpkin faces give you more creative freedom, but they reward artists who study their reference images seriously. Pick a source — Frankenstein’s flat-topped silhouette, a rotting zombie with sunken flesh, a werewolf mid-howl — and spend time sketching it on paper before you ever touch the pumpkin. Transfer your design using a transfer tool or by taping a printed template directly to the surface and tracing through it with a pin. For undead designs specifically, asymmetry is your best friend. Real decay is never even, so one sunken eye, one exposed jawline, one ragged tear across the cheek will always look more convincing than a perfectly balanced composition.
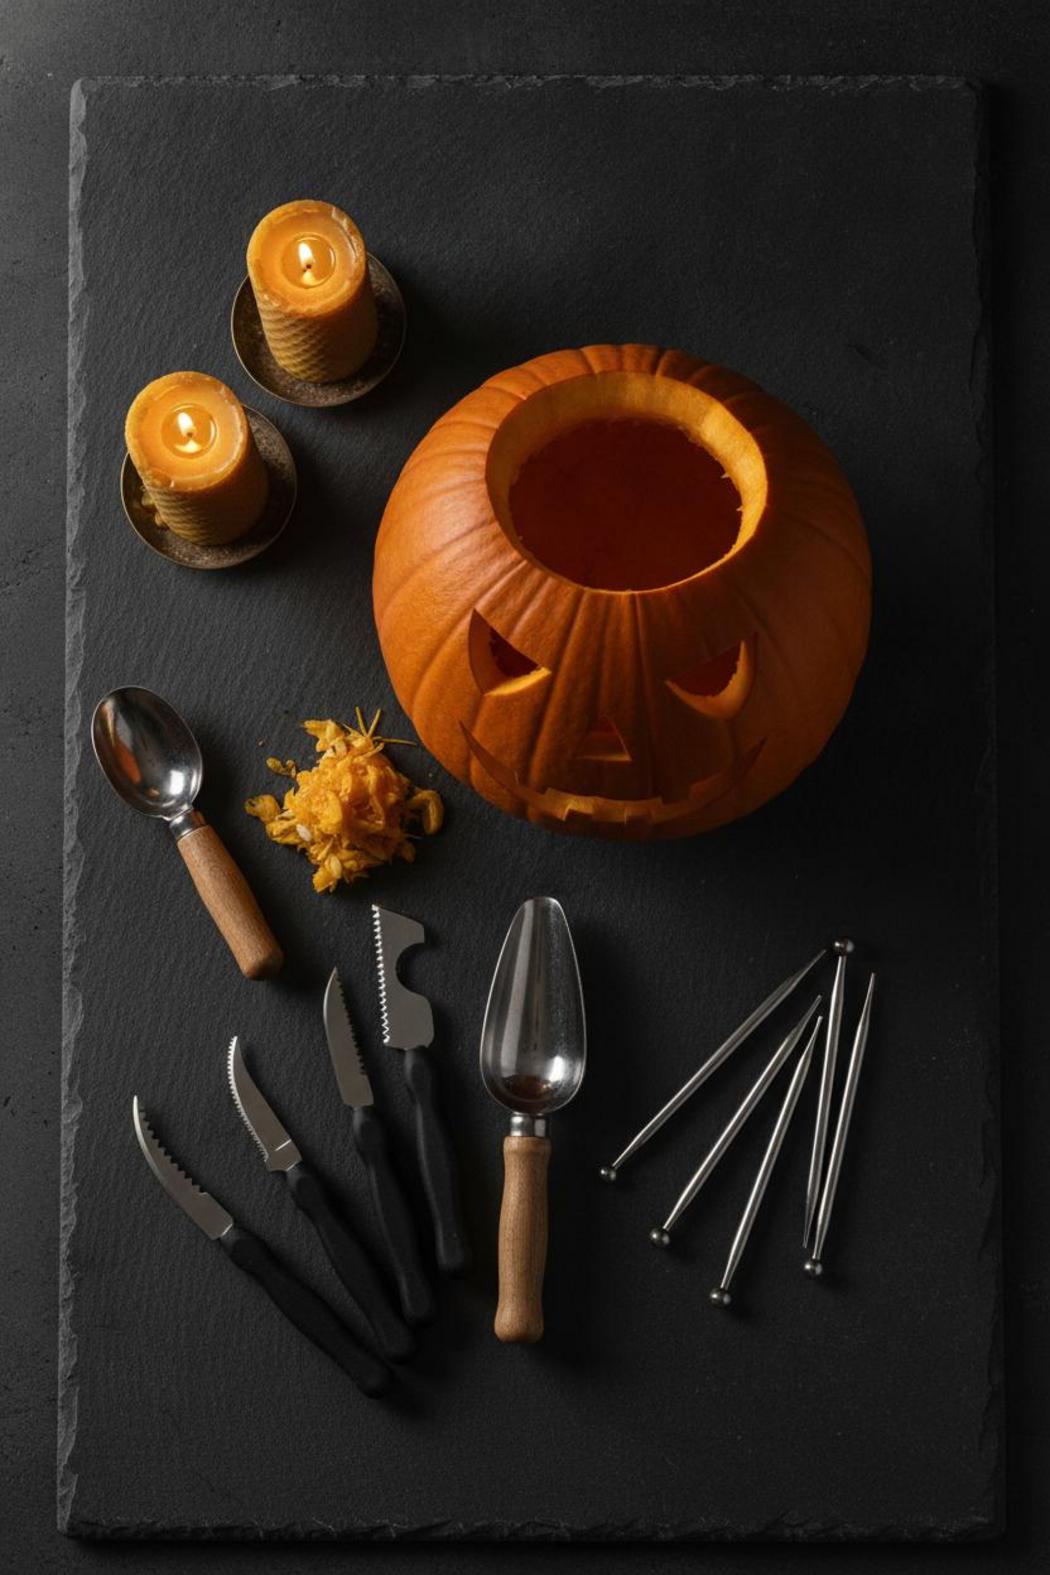
Before you sit down with your carving kit, make sure you’re set up properly. A serrated pumpkin saw handles the heavy cuts, a detail knife handles the fine lines, and a scoop or spoon clears out the interior so the walls are thin enough to let light pass through cleanly. A dry-erase marker is better than pencil for sketching directly on the surface — it wipes off cleanly if you need to adjust. And always carve the most delicate details last, once the larger cutouts are already done. These spooky pumpkin ideas look complex from the outside, but the process is methodical once you break it into steps. Take your time, trust the design, and your porch is going to look like the entrance to something genuinely haunted.
Advanced Scary Jack O Lantern Designs for Maximum Impact
🎃 Products We Recommend:
🎃 CHRYZTAL Pumpkin Carving Kit Tools Halloween 13PCS — A highly-rated, best-selling 13-piece stainless steel carving set perfect for executing scary detailed pumpkin designs.
🔪 7Felicity Professional Halloween Pumpkin Carving Kit 9 Piece — A top-rated 9-piece kit with storage bag and stencils, ideal for carving intricate scary Jack-O-Lantern designs.
👻 Greatever Halloween Pumpkin Carving Kit with 12 Stencils — Comes with 12 pumpkin stencils and a carrying case, making it easy to recreate scary carving designs right out of the box.
If you’ve already mastered the gap-toothed grin and the classic triangle eyes, it’s time to level up. These advanced scary pumpkin carving designs for Halloween are built for the kind of statement that stops trick-or-treaters dead in their tracks — the kind where someone actually pulls out their phone to take a photo before they even ring the doorbell. We’re talking dimensional carving, layered depth effects, and faces so unsettling they look like they belong on a movie set rather than a front porch.
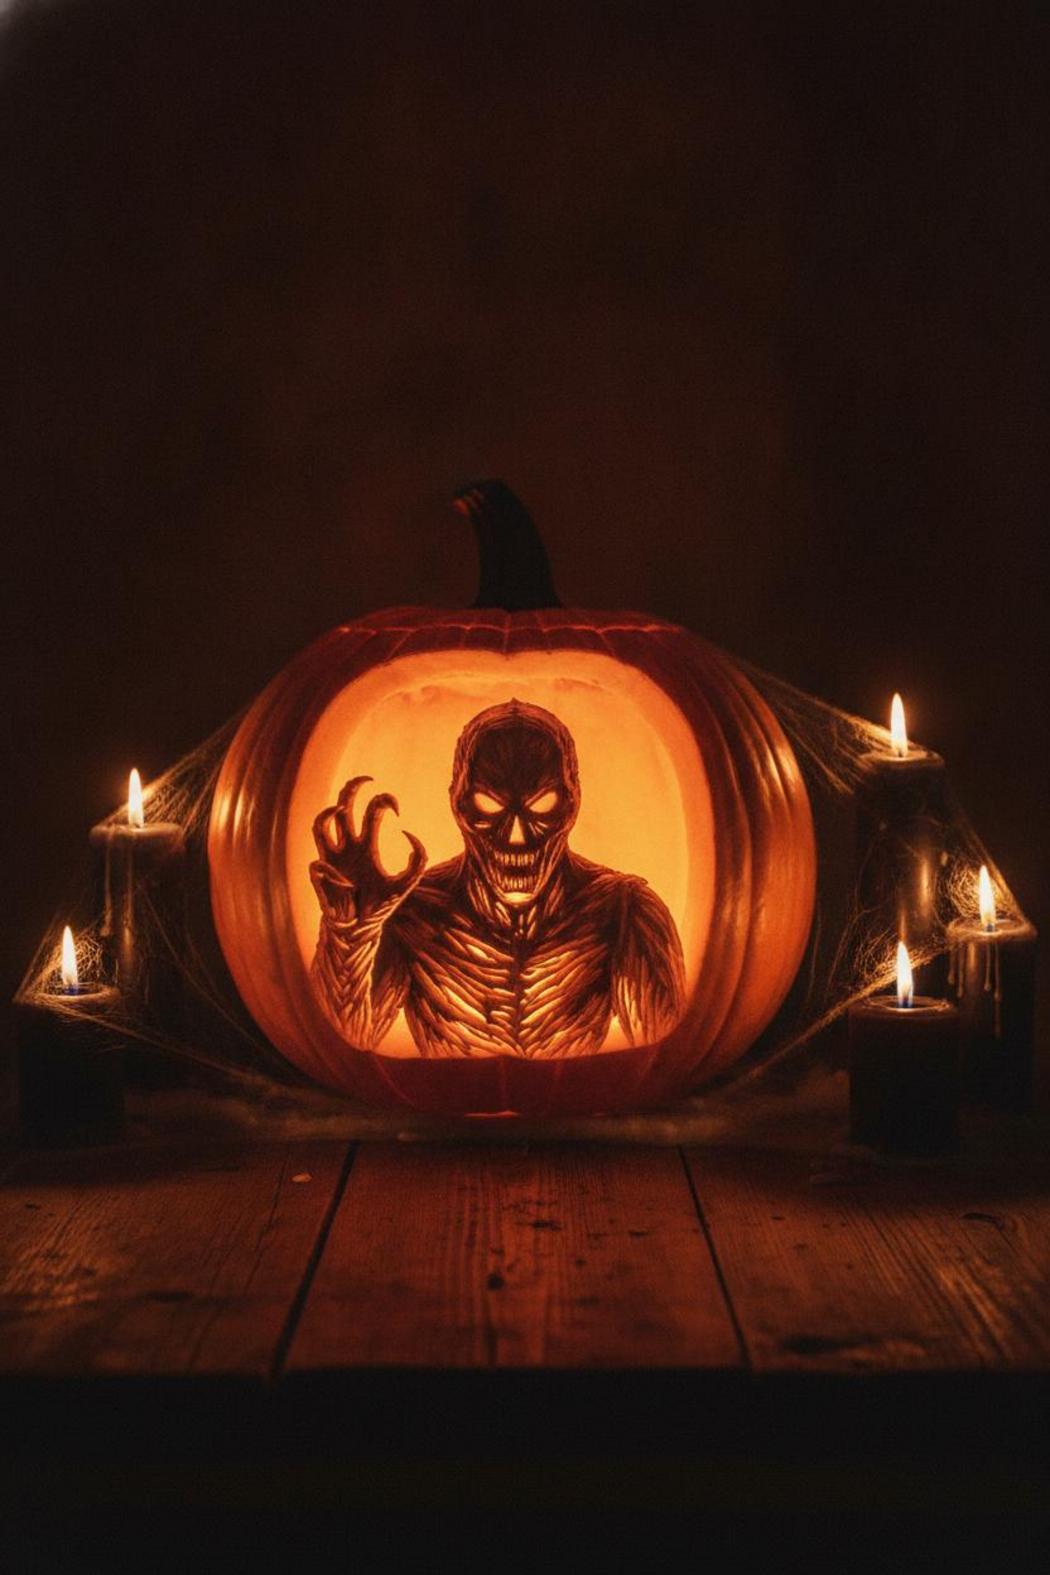
The secret weapon of advanced carvers is shading through partial cuts. Instead of carving all the way through the flesh, you remove only the outer skin to let light glow through at different intensities. This technique transforms a flat horror pumpkin carving into something genuinely three-dimensional — shadows pool in the hollows, light bleeds through thin membranes, and the whole design pulses like something alive. A decomposed face with exposed teeth, a screaming skull melting into the rind, or a creature with sunken eye sockets all hit completely differently when you use this method versus a basic cut-through approach.
For maximum impact, consider the profile and silhouette of your design before you make a single cut. Twisted, asymmetrical faces read as far more unsettling than symmetrical ones — the human brain is wired to notice when something is slightly off, and that dissonance is exactly what makes a truly creepy pumpkin face so effective. Elongate the features, drop one eye lower than the other, let the mouth stretch beyond what’s anatomically possible. The uncanny valley isn’t just for CGI — it works beautifully in gourd form.
Pairing your carving with the right lighting is non-negotiable at this level. A standard tea light will wash out the nuance of detailed work. Use a flickering LED with a warm amber tone to bring out the depth of partial cuts, or position a small directional light at the base to cast dramatic upward shadows. For spooky pumpkin ideas that genuinely unnerve, dry ice or a small fog machine tucked nearby can push the whole setup from impressive to unforgettable.
The designs in this section are not quick carves — expect to invest an hour or more per pumpkin, and use proper carving tools rather than kitchen knives. A detail saw, a linoleum cutter, and a quality drill for dot-work effects will give you the control you need. Transfer your design using a printed template and a poking tool, keep your pumpkin cold between sessions to slow deterioration, and seal the cut edges with petroleum jelly once you’re done. A scary jack o lantern at this level deserves to last the full season — treat it accordingly.
Tools, Templates, and Tips to Nail Any Spooky Pumpkin Idea
🎃 Products We Recommend:
🎃 CHRYZTAL Pumpkin Carving Kit Tools Halloween 13PCS — A highly-rated, best-selling 13-piece stainless steel carving set perfect for executing scary detailed pumpkin designs.
🔪 7Felicity Professional Halloween Pumpkin Carving Kit 9 Piece — A top-rated 9-piece kit with storage bag and stencils, ideal for carving intricate scary Jack-O-Lantern designs.
👻 Greatever Halloween Pumpkin Carving Kit with 12 Stencils — Comes with 12 pumpkin stencils and a carrying case, making it easy to recreate scary carving designs right out of the box.
Before you drag a pumpkin onto the kitchen table and start hacking away, let’s talk setup — because the difference between a mediocre jack-o’-lantern and a genuinely unsettling one comes down to having the right tools and a little strategy. A basic carving kit from the dollar store will get you somewhere, but if you’re serious about pulling off any of these scary pumpkin carving designs for Halloween, invest in a proper set of serrated carving saws in multiple sizes, a fine detail knife, a poke tool for transferring templates, and a good scoop with a wide bowl. These aren’t luxuries — they’re what separate clean, dramatic cuts from jagged, accidental messes.
Templates are your best friend, especially for complex horror pumpkin carving designs that involve fine details like teeth, hollow eyes, or layered shading effects. Print your chosen design, tape it directly onto your pumpkin, and use a poke tool or pin to trace every line with small punctures. When you remove the paper, you’ll have a perfect dotted outline to follow. For shading effects — where you shave the skin rather than carve all the way through — a linoleum cutter or a small V-gouge tool gives you far more control than a standard knife ever could. This technique is what creates those creepy pumpkin faces that look almost three-dimensional when lit from within.
Choosing the right pumpkin matters more than most people realize. Look for a smooth, flat face with consistent skin thickness — lumpy or deeply ribbed pumpkins will fight you on every cut. Thinner-walled pumpkins carve more easily but also collapse faster, so if you want your spooky pumpkin ideas to survive the full Halloween week, go for a medium-thickness wall and seal all cut edges with petroleum jelly after you’re done. This slows dehydration dramatically and keeps your design crisp through the 31st.
Lighting transforms everything. A single tea light is fine for simple designs, but for a truly scary jack-o’-lantern with intricate detail work, use an LED flickering candle or a small battery-powered string light tucked inside. The uneven glow catches every carved line differently as it pulses, turning even a mid-tier design into something genuinely atmospheric. Place your finished pumpkin slightly above eye level — on a step, a ledge, or a stack of hay bales — so the light projects upward onto nearby surfaces. That simple shift in elevation makes the whole thing feel more theatrical, more menacing, and a whole lot more Halloween.
Conclusion
Now you have 30 scary pumpkin carving designs for Halloween to spark your creativity and push your skills further than ever before. Whether you’re a first-time carver or a seasoned jack-o’-lantern artist, there’s a design on this list made to challenge and thrill you. Pick one design above your current comfort level — that slight stretch is exactly what separates a memorable porch display from a forgettable one. Grab your carving tools, choose your pumpkin, and get ready to turn your front step into the scariest spot on the block.
Save this guide for later and pin it to your board! 🎃
As an Amazon Associate I earn from qualifying purchases.