25 Easy Pumpkin Carving Ideas for Beginners

Easy pumpkin carving ideas for beginners are exactly what you need when October arrives and a blank orange canvas is staring you down.
Most people buy a pumpkin with big ambitions and end up either copying the same toothy grin they carved in third grade or, worse, giving up and leaving it plain. Neither is the move. The truth is you don’t need artistic talent, a steady surgeon’s hand, or a garage full of specialty tools to produce something genuinely striking on your front steps.
In this guide you’ll find 25 beginner-friendly designs ranked from truly foolproof to mildly ambitious — covering classic cuts, geometric patterns, silhouette styles, and no-carve alternatives for anyone who wants the look without the mess. We’ve also included tool tips, template advice, and preservation tricks so your pumpkin actually survives until November 1st. Let’s get into it.
Simple Pumpkin Designs That Actually Look Impressive
🎃 Products We Recommend:
🎃 7Felicity 9-Piece Halloween Pumpkin Carving Kit with Stencils — Amazon’s Overall Pick with a 4.7 rating and anti-slip handles make it ideal for beginners tackling their first jack-o’-lantern.
🔪 CHRYZTAL 13-Piece Professional Pumpkin Carving Kit — A limited-time deal with 6K+ monthly buyers and a solid 4.4 rating, offering double-sided sculpting tools perfect for easy beginner designs.
✨ CHRYZTAL Professional Pumpkin Carving Kit for Halloween — Top-rated at 4.7 stars with 7K+ monthly buyers and a limited-time deal price, making it a beginner-friendly crowd favorite.
Let’s get one thing straight: a stunning jack-o’-lantern doesn’t require art school credentials or a steady surgeon’s hand. Some of the most show-stopping pumpkins on the porch are built on the simplest foundations — and that’s exactly the kind of magic we’re here for. Whether this is your first time picking up a carving knife or you’ve just never quite nailed a design you were proud of, these easy pumpkin carving ideas for beginners will change the way you think about the whole process.
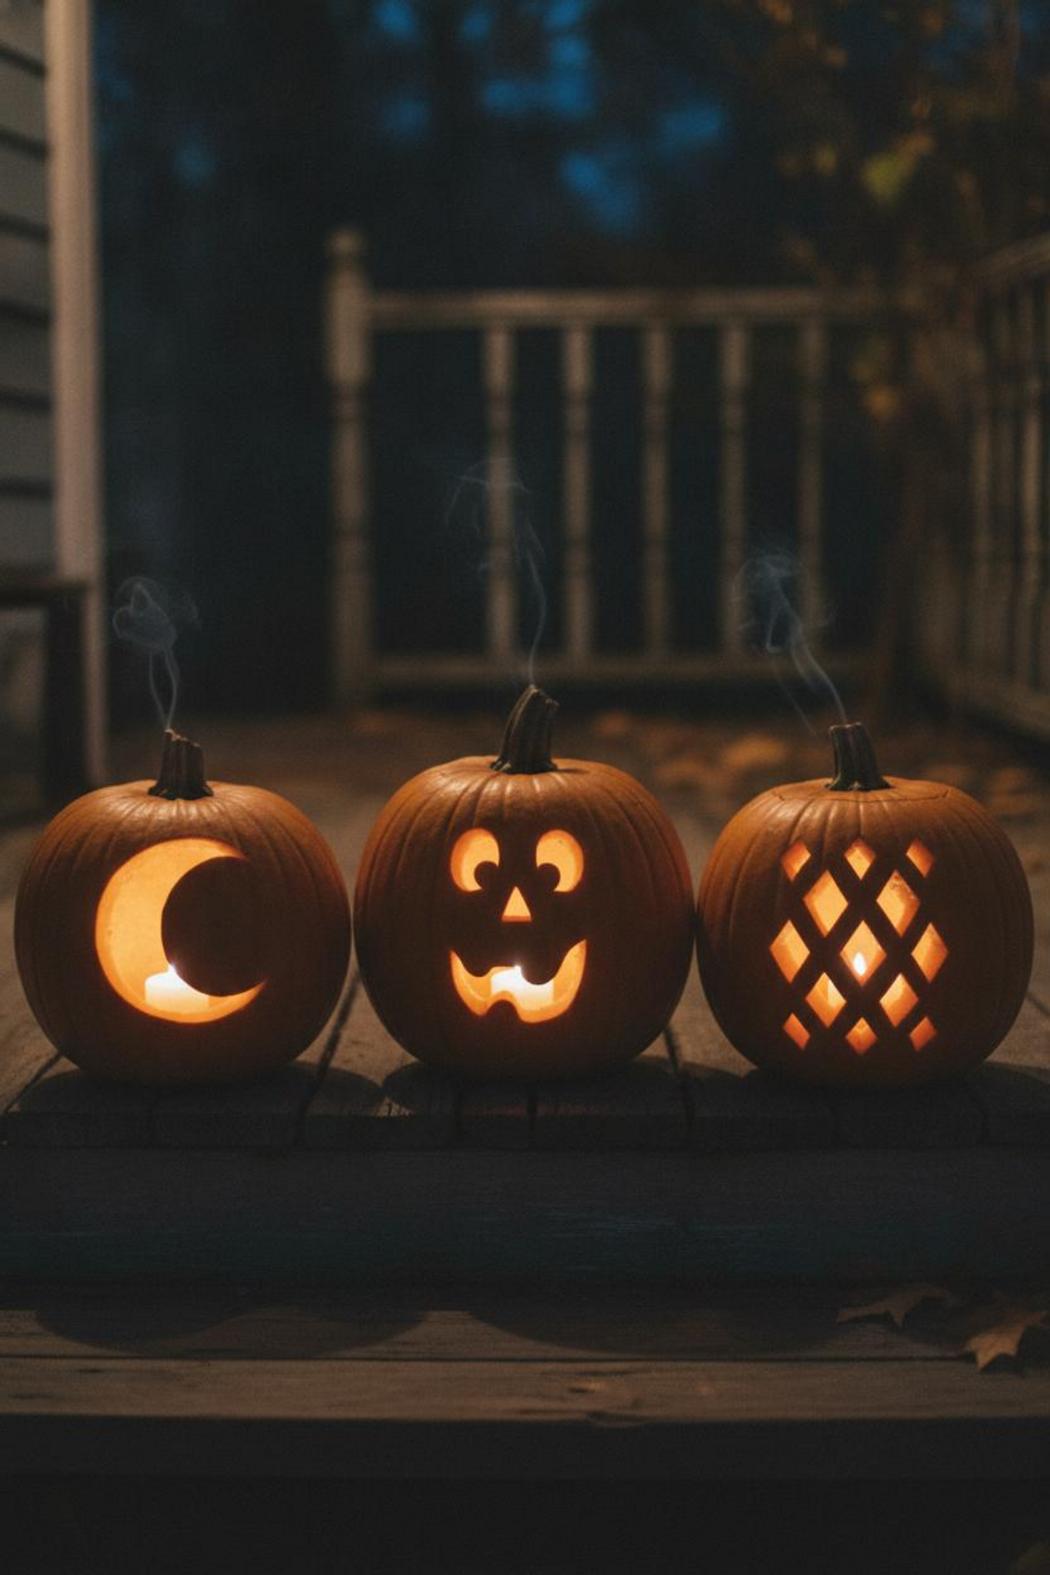
The secret most experienced carvers won’t tell you? Restraint wins. A bold, clean triangle-eyed face with a jagged grin catches candlelight better than an overcrowded design with seventeen tiny cutouts. Simple pumpkin designs work because they play to the medium — the glow, the shadow, the drama of a dark October night doing half the heavy lifting for you. You’re not just carving a pumpkin; you’re designing a light source. Keep that in mind and suddenly every decision gets easier.
Before you even touch the pumpkin, set yourself up properly. Use a dry-erase marker to sketch your design directly on the surface — it wipes clean if you change your mind. Invest in a cheap pumpkin carving kit from any grocery or craft store; those small serrated saws are genuinely easier to control than a kitchen knife and far safer when you’re still getting comfortable. If you’re working with kids or simply want zero stress, a no carve pumpkin approach using paint, adhesive gems, or push-in decorations is a completely legitimate — and honestly gorgeous — alternative that still delivers serious curb appeal.
Pumpkin carving templates are another game-changer that beginners sleep on. Print one out, tape it to your pumpkin, and use a toothpick or small nail to poke along the lines before you cut. This removes all the guesswork and gives you a road map to follow, which means you’re not freestyling under pressure at 9pm on Halloween Eve. From crescent moons to haunted silhouettes to classic geometric patterns, beginner pumpkin carving becomes genuinely enjoyable — not stressful — when you take ten minutes to prep.
The 25 designs ahead range from true first-timers to slightly more ambitious cuts that are still well within reach if you take your time. We’ve organized them so you can match your comfort level honestly and still walk away with something you’ll want to photograph before the neighbors even see it. Pick one, light a candle inside, and watch what happens. That warm amber glow through your own handiwork? That’s the whole reason we do this every year.
Beginner Pumpkin Carving Tools and Templates You Actually Need
🎃 Products We Recommend:
🎃 7Felicity 9-Piece Halloween Pumpkin Carving Kit with Stencils — Amazon’s Overall Pick with a 4.7 rating and anti-slip handles make it ideal for beginners tackling their first jack-o’-lantern.
🔪 CHRYZTAL 13-Piece Professional Pumpkin Carving Kit — A limited-time deal with 6K+ monthly buyers and a solid 4.4 rating, offering double-sided sculpting tools perfect for easy beginner designs.
✨ CHRYZTAL Professional Pumpkin Carving Kit for Halloween — Top-rated at 4.7 stars with 7K+ monthly buyers and a limited-time deal price, making it a beginner-friendly crowd favorite.
Before you even think about picking up a knife, let’s talk about what actually belongs on your carving setup — because nothing kills the Halloween mood faster than fighting a pumpkin with the wrong tools. The good news? You don’t need a professional kit or a cabinet full of gadgets. A small, intentional collection of the right supplies will take you from nervous beginner to confident carver in a single evening.
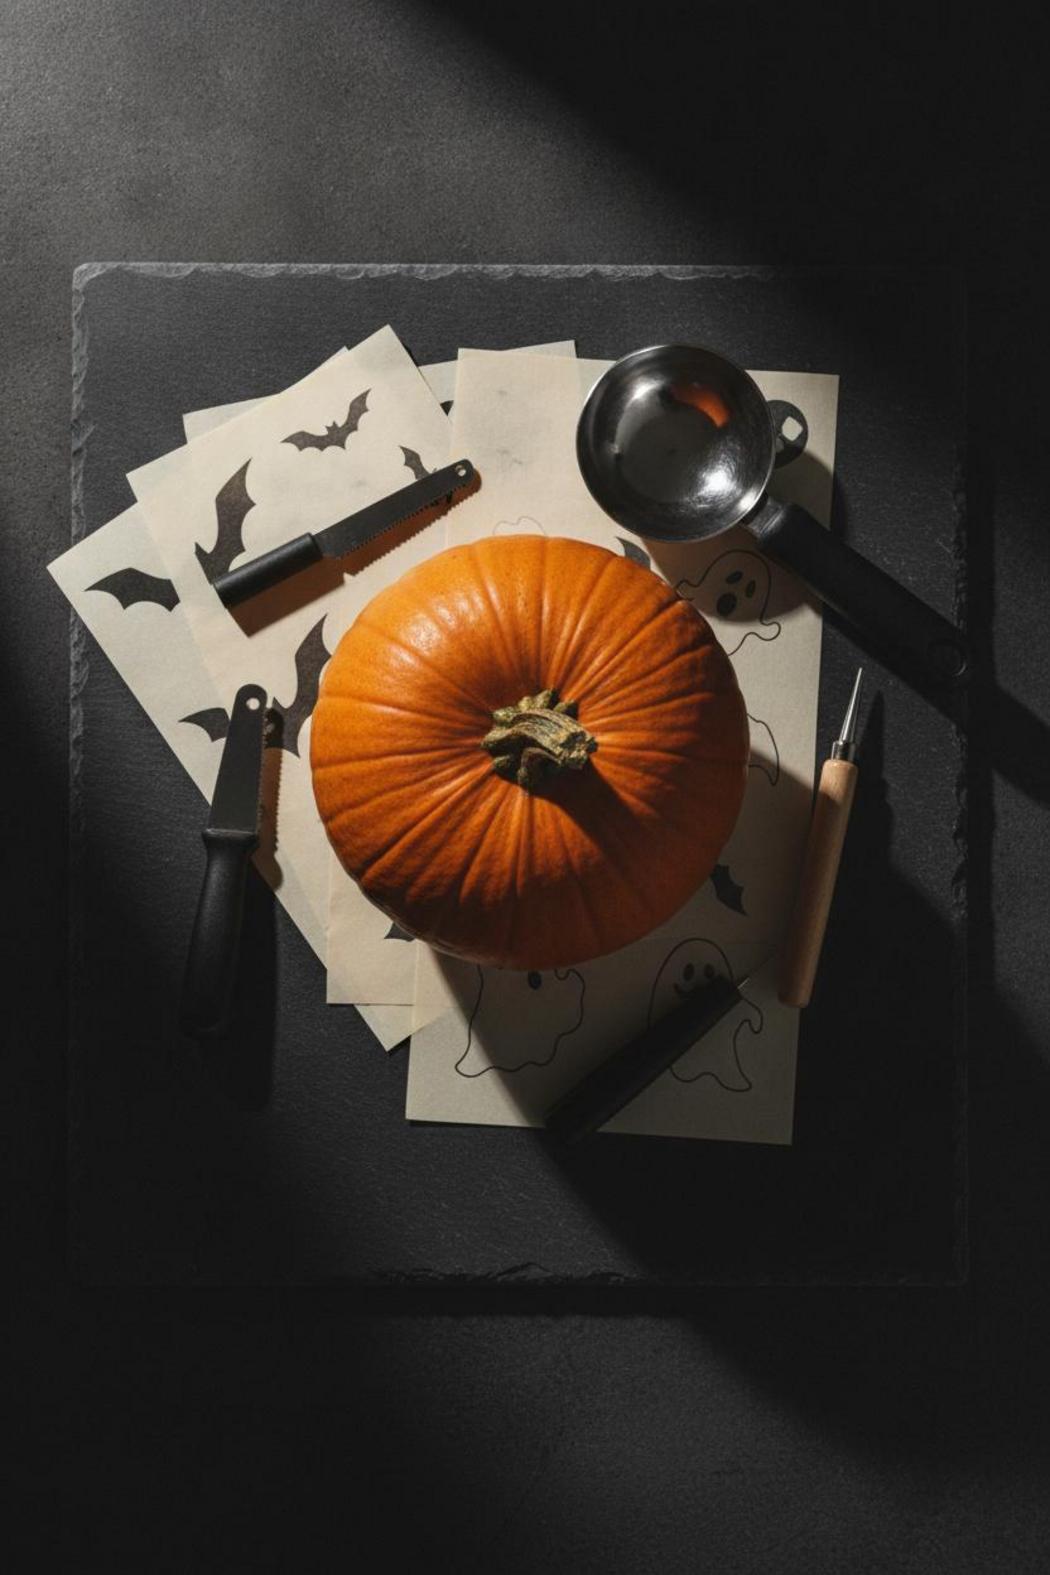
The single most important upgrade you can make is ditching kitchen knives entirely. A basic pumpkin carving kit — the kind you’ll find at any craft store or online for under fifteen dollars — comes with serrated saws that give you far more control than any chef’s knife. These small, thin blades let you navigate curves and tight corners without cracking the flesh or losing a finger in the process. Pair that with a sturdy scoop or an ice cream spade for gutting the pumpkin, and you’ve already solved two of the biggest frustrations beginners face with easy pumpkin carving ideas for beginners.
Pumpkin carving templates are genuinely a game-changer, and there’s zero shame in using them. Printable templates — many available free online — eliminate the guesswork entirely. You simply tape the design to your pumpkin, use a poking tool or a thick pin to trace the outline through the paper, remove the template, and follow the dotted lines with your saw. It’s methodical, satisfying, and produces results that look far more impressive than freehanding ever would on a first attempt. Look for beginner pumpkin carving templates labeled “low detail” or “large cuts” to keep things manageable.
A few other items worth having on hand:
- A dry-erase marker or china marker for sketching directly onto the pumpkin surface
- A small LED tea light (safer than a flame and longer-lasting)
- Petroleum jelly to seal cut edges and slow down the decay
- A damp cloth for wiping away smudges as you work
And if you want to sidestep carving altogether — at least for some of your display — no carve pumpkin techniques have become genuinely stylish. Paint, decoupage, washi tape, or simple pumpkin designs drawn on with a metallic marker can look incredibly polished on a porch or tablescape. They also last the entire season without shriveling into a sad, caved-in mess by October 28th. Consider mixing carved and uncarved pumpkins for a display that’s layered, dramatic, and low-stress to pull off.
No-Carve Pumpkin Ideas for a Zero-Mess Halloween Display
🎃 Products We Recommend:
🎃 7Felicity 9-Piece Halloween Pumpkin Carving Kit with Stencils — Amazon’s Overall Pick with a 4.7 rating and anti-slip handles make it ideal for beginners tackling their first jack-o’-lantern.
🔪 CHRYZTAL 13-Piece Professional Pumpkin Carving Kit — A limited-time deal with 6K+ monthly buyers and a solid 4.4 rating, offering double-sided sculpting tools perfect for easy beginner designs.
✨ CHRYZTAL Professional Pumpkin Carving Kit for Halloween — Top-rated at 4.7 stars with 7K+ monthly buyers and a limited-time deal price, making it a beginner-friendly crowd favorite.
Not every stunning pumpkin display requires a carving knife — and honestly, some of the most striking Halloween setups we’ve ever seen involved zero blades and absolutely no pumpkin guts on the kitchen floor. If you’re working with young kids, tight on time, or just want your pumpkins to last the entire season without rotting from the inside out, no-carve techniques are your secret weapon. Think of them as the sophisticated sibling of beginner pumpkin carving — less chaos, same dramatic effect.
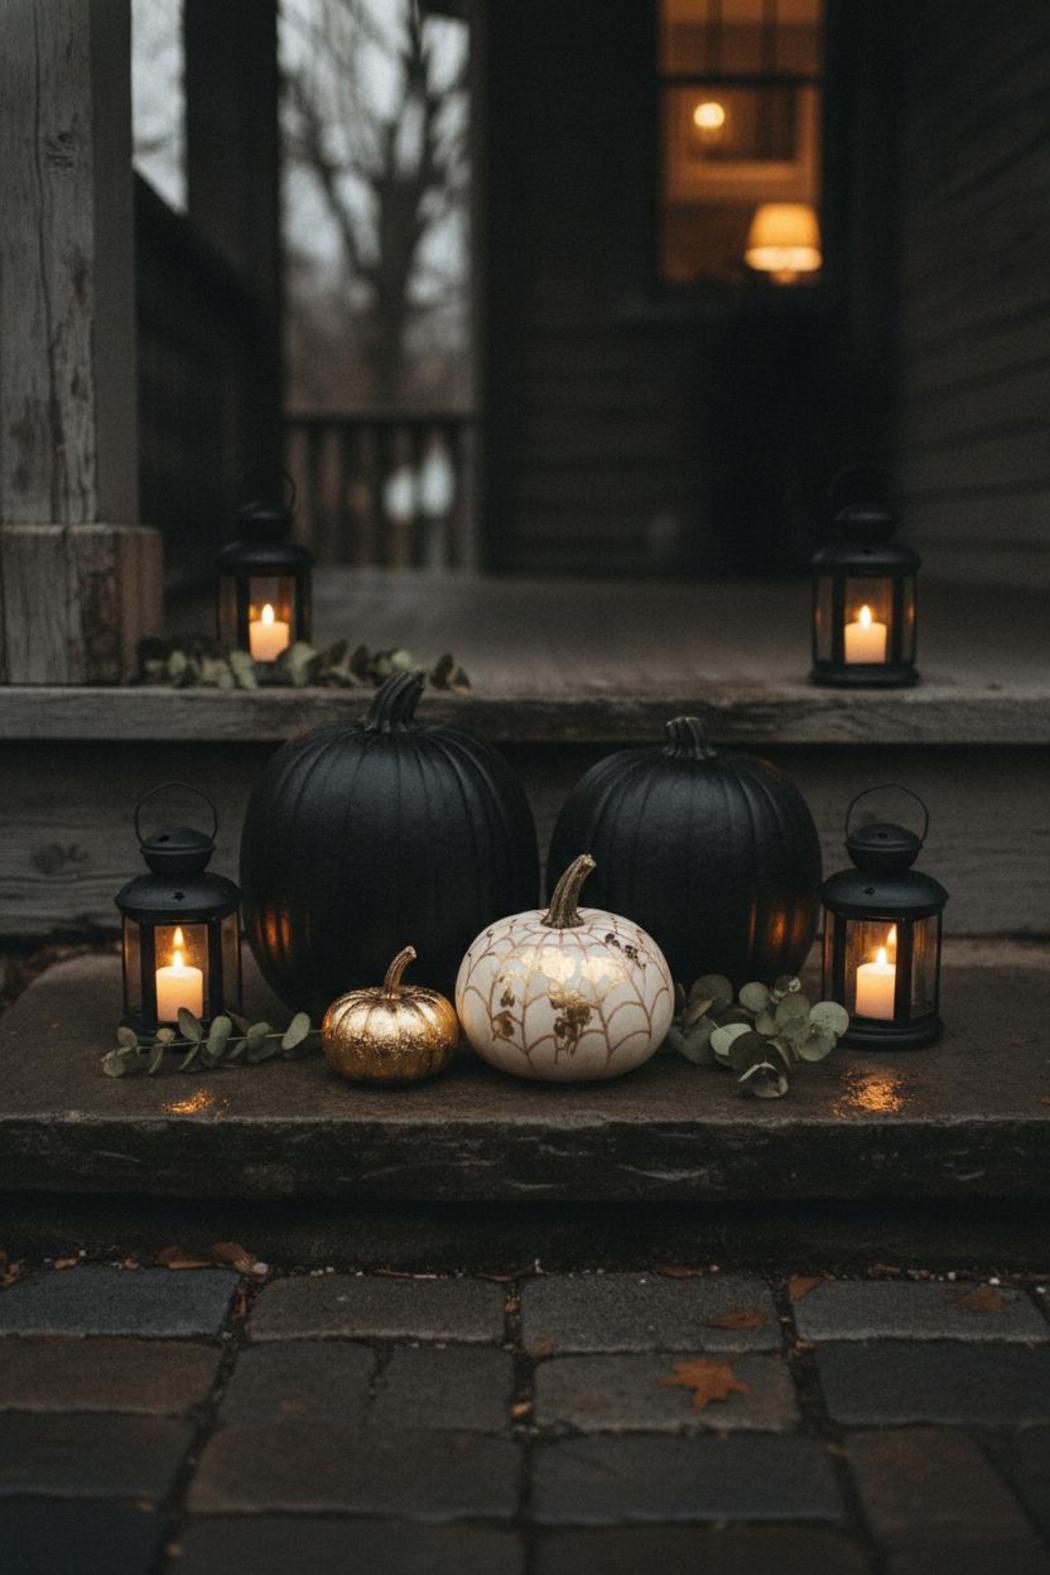
Paint is where most people start, and for good reason. A coat of matte black spray paint turns any pumpkin into a moody, modern centerpiece that looks intentional rather than easy. From there, you can use a white paint pen to draw geometric patterns, spider webs, or even hand-lettered phrases like “Beware” or “Enter If You Dare.” Metallic gold and deep burgundy are also having a major moment right now — pair a few painted pumpkins together in varying heights and you’ve got a display that looks curated, not cobbled together.
Decoupage is another technique worth keeping in your Halloween arsenal. Tissue paper, torn pages from old paperback novels, or even printed pumpkin carving templates can be adhered directly to the pumpkin surface with Mod Podge for a textured, layered look that’s genuinely impressive up close. Layer black lace over a white-painted pumpkin for something gothic and elegant, or cover a small pumpkin entirely in gold leaf sheets for a look that belongs on a magazine cover — not just a front porch.
Don’t overlook the power of hardware and natural materials either. Thumbtacks pressed into a pumpkin in constellation patterns create a subtle, starlit effect after dark. Tiny gourds hot-glued onto a larger pumpkin build dimension and texture without a single cut. Dried flowers, twigs, and Spanish moss tucked around the stem turn a plain orange pumpkin into something that feels pulled straight from a haunted garden. These simple pumpkin designs require almost no artistic skill, yet the results read as anything but beginner-level.
The real advantage here — beyond the obvious lack of mess — is longevity. Uncarved pumpkins can hold up for weeks, sometimes the entire month of October, which means your display stays polished from the first cool night of the season all the way through Halloween night. Set out a mix of no-carve pumpkins alongside one or two traditionally carved ones for contrast, and you’ve got a front display that balances craft with atmosphere. That’s the move. That’s always the move.
How to Make Your Carved Pumpkin Last All Season

🎃 Products We Recommend:
🎃 7Felicity 9-Piece Halloween Pumpkin Carving Kit with Stencils — Amazon’s Overall Pick with a 4.7 rating and anti-slip handles make it ideal for beginners tackling their first jack-o’-lantern.
🔪 CHRYZTAL 13-Piece Professional Pumpkin Carving Kit — A limited-time deal with 6K+ monthly buyers and a solid 4.4 rating, offering double-sided sculpting tools perfect for easy beginner designs.
✨ CHRYZTAL Professional Pumpkin Carving Kit for Halloween — Top-rated at 4.7 stars with 7K+ monthly buyers and a limited-time deal price, making it a beginner-friendly crowd favorite.
You’ve finally nailed one of those easy pumpkin carving ideas for beginners, the design looks incredible, and the last thing you want is to watch it collapse into a sad, shriveled mess three days later. The good news? A few simple preservation tricks can keep your masterpiece looking sharp well into November.
Start with the scoop-out process. The more thoroughly you scrape the interior walls — especially directly behind your carved areas — the longer your pumpkin will last. Thinner walls dry out and mold faster, so aim for about an inch of flesh thickness throughout. Once you’re done carving, give the entire pumpkin a long soak in a large bucket of cold water with a splash of bleach (roughly one tablespoon per gallon). This kills surface bacteria before it has a chance to take hold. Let it dry completely before displaying it.
After the soak, seal every cut edge with petroleum jelly or a dedicated pumpkin preservative spray. This step is non-negotiable if you’re serious about longevity. It locks in moisture, slows oxidation, and keeps those crisp lines from caving in prematurely. Reapply every day or two, especially if your pumpkin lives outside where wind and temperature shifts accelerate dehydration.
Speaking of outside — placement matters more than most people realize. Direct sunlight is your carved pumpkin’s worst enemy. A shaded porch, a covered entryway, or even bringing it indoors overnight during warm October stretches can add days to its life. If temperatures in your area are still hovering above 60°F close to Halloween, consider refrigerating it overnight wrapped loosely in a plastic bag. Yes, really. Your fridge is essentially a very polite preservation chamber.
If your pumpkin starts to look a little deflated despite your best efforts, submerge it in ice-cold water for a few hours. The flesh will rehydrate and firm back up — it’s not a permanent fix, but it buys you time right before the big night. And if you started carving early in the season while experimenting with beginner pumpkin carving techniques, don’t stress. Simply time your final display pumpkin to be carved no more than five to seven days before Halloween for peak freshness.
One last pro move: swap out real candles for battery-operated tea lights whenever possible. Traditional candles generate heat that accelerates rotting from the inside out, while LED options keep the interior cool and dramatically extend the lifespan of your carve. You get the same warm, flickering glow without sacrificing a single day of display time. Treat your pumpkins right, and they’ll hold the line all the way to Halloween night.
Conclusion
You now have everything you need to go from blank pumpkin to front-porch showstopper without second-guessing a single cut. These easy pumpkin carving ideas for beginners prove that stunning results don’t require fancy tools or years of practice — just a little creativity and the right inspiration. Pick your favorite design, grab your carving kit, and let this Halloween be your best one yet. Whether you go spooky, silly, or seriously impressive, your pumpkin display is about to turn heads all season long.
Save this guide for later and pin it to your board! 🎃
As an Amazon Associate I earn from qualifying purchases.