15 Easy Halloween Candy Bark Recipes Kids Will Love
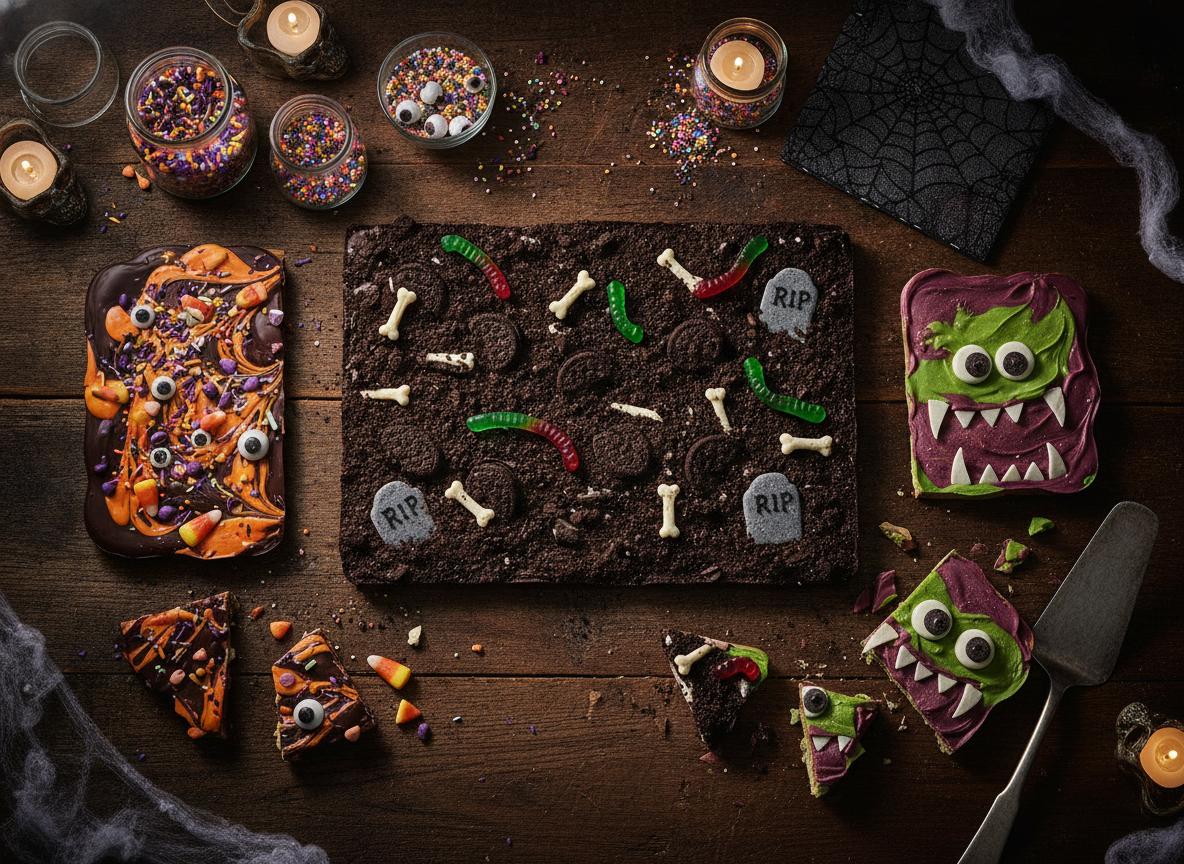
Easy Halloween candy bark recipes are the secret weapon every October host needs in their arsenal — minimal effort, maximum drama, and they look like you spent hours in the kitchen when you barely broke a sweat.
The problem most people run into is wanting spooky, shareable treats without committing to a full baking project the week of Halloween, when your schedule is already packed with costume runs and porch decorating. Candy bark solves that completely. Melt, pour, top, chill — done.
In this guide, you’ll find 15 Halloween chocolate bark and spooky candy treat ideas that range from classic orange-and-black swirls to graveyard scenes and monster faces. Every recipe is no-bake, kid-friendly to decorate, and built to impress on a treat table, in a goodie bag, or just broken into shards and devoured straight from the pan. Let’s get into it.
Classic Orange and Black Halloween Chocolate Bark
🎃 Products We Recommend:
🎃 Halloween Candy Melts 3 LB, Orange, Dark Chocolate & White Melting Wafers — This all-in-one Halloween color set of orange, dark chocolate, and white melting wafers is perfect for creating festive layered candy bark in classic Halloween hues.
🍫 Hoosier Hill Farm Chocolate Melting Wafers, 2LB — With a top-rated 4.7 stars and 275 reviews, these reliable chocolate melting wafers are an excellent base for any Halloween candy bark recipe.
👁️ Sweets Indeed Halloween Sprinkles with Candy Eyeballs, 4 ounces — These highly-rated Halloween sprinkles with candy eyeballs are the perfect spooky topping to finish off homemade Halloween candy bark.
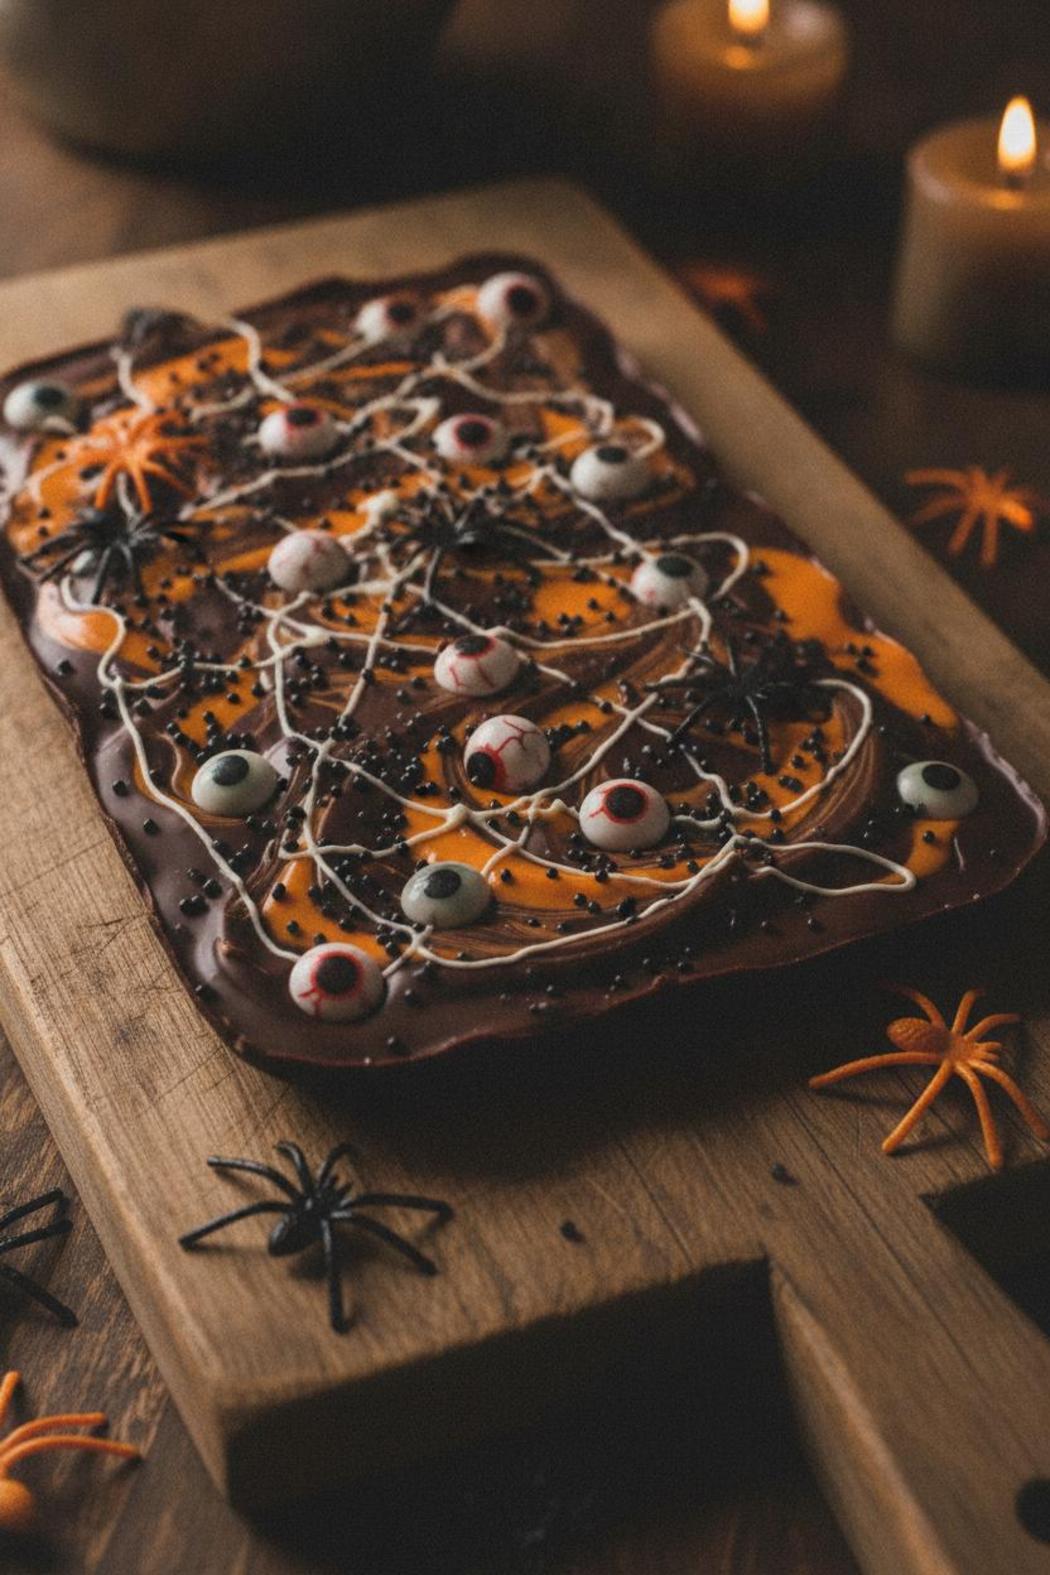
If you’re only going to make one thing from this entire collection of easy Halloween candy bark recipes, make it this one. Classic orange and black Halloween chocolate bark is the gold standard for a reason — it’s striking, it’s delicious, and it takes about twenty minutes from start to finish. No baking, no special equipment, and no culinary degree required. Just good chocolate, a steady hand with the food coloring, and a little bit of that Halloween energy you’ve clearly already got in abundance.
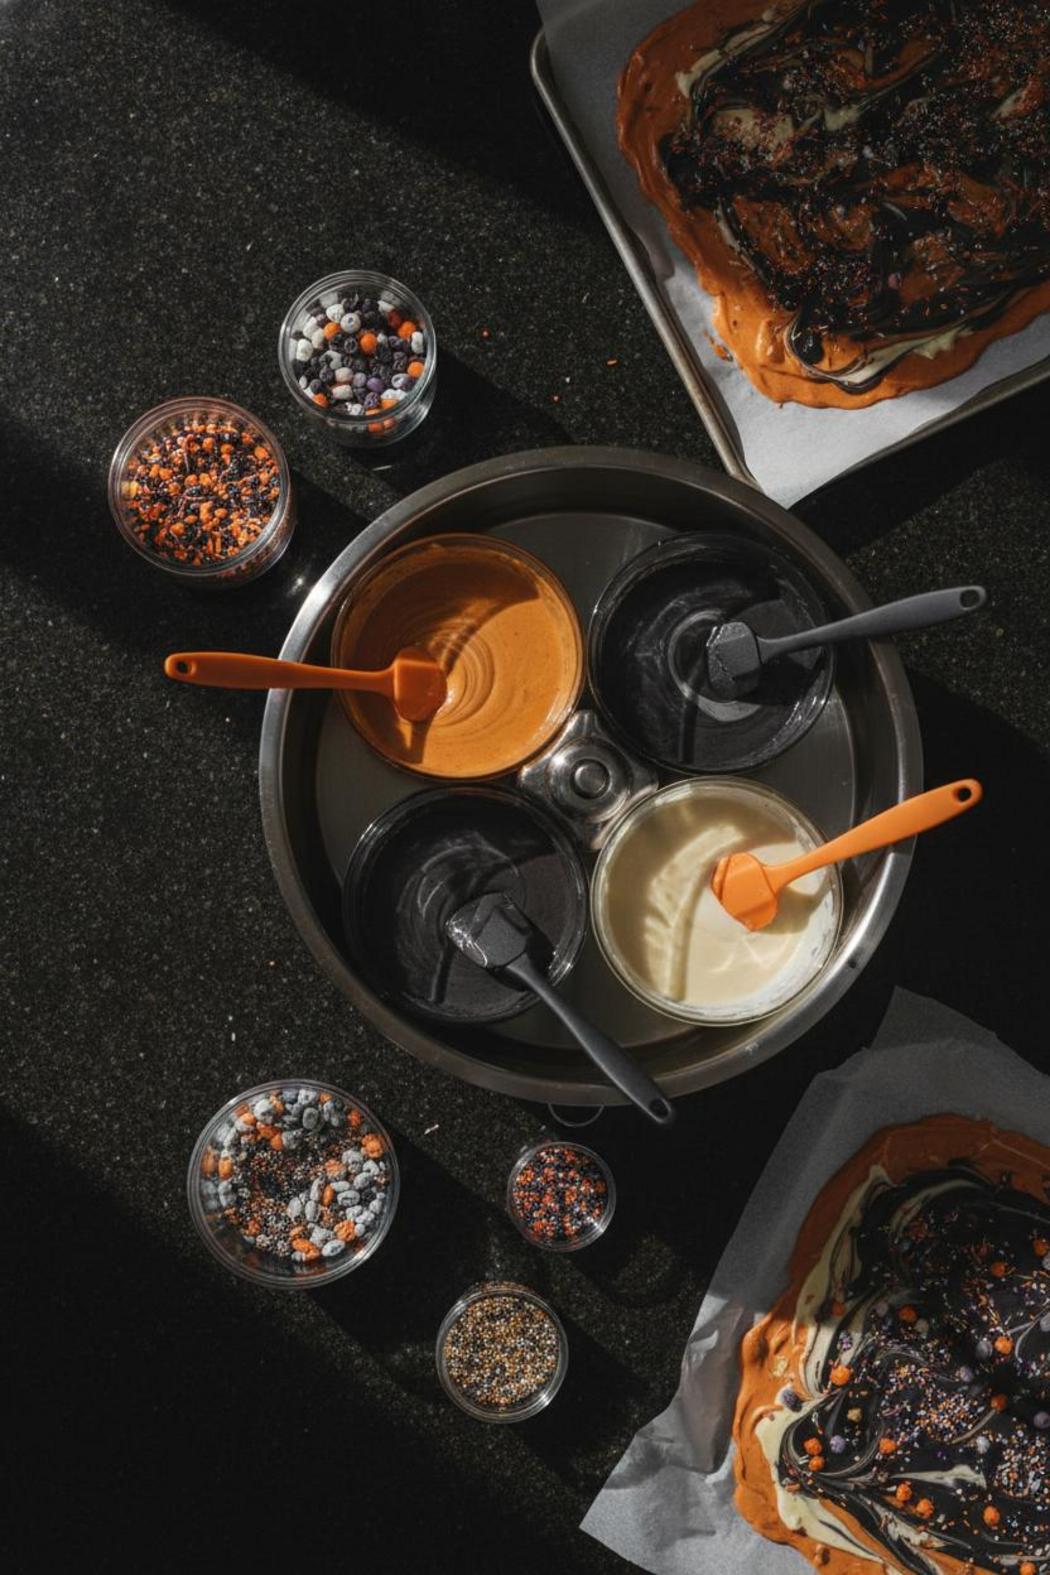
Start with a base of good-quality white chocolate melting wafers — the cheap stuff will bloom and turn chalky, so don’t cut corners here. Melt two separate batches: one tinted deep Halloween orange with gel food coloring (gel only, liquid will seize your chocolate), and one tinted jet black. Spread the orange layer onto a parchment-lined baking sheet first, working quickly before it sets. Immediately dollop spoonfuls of the black chocolate across the top and use a toothpick or skewer to drag the two colors together in long, sweeping swirls. You’re going for something dramatic and a little chaotic — think stormy night sky, not a Pinterest-perfect swirl.
While the chocolate is still tacky, this is your moment to go all in on the toppings. Black and orange M&Ms are the obvious choice and they never disappoint. Add some candy corn for that retro Halloween charm, a handful of black sprinkles, maybe a few edible eyeballs if you want to lean into the spooky candy treats territory. Crushed Oreos scattered across the top add a dark, crumbly texture that looks like grave dirt in the best possible way. Let the whole thing set at room temperature for about an hour, or slide it into the fridge for fifteen minutes if you’re working against a party countdown.
Once fully set, break it into jagged, irregular shards — and yes, irregular is exactly what you want. Neat squares belong at a bake sale. This is Halloween bark, and it should look like it was shattered by something that goes bump in the night. Pile the pieces onto a black cake stand or arrange them across a platter lined with fake cobwebs for a display that does half your party decorating for you. This is one of those no bake Halloween desserts that somehow looks like you spent far more time on it than you did, which is honestly the whole goal. Store any leftovers in an airtight container at room temperature for up to a week — though if experience is any guide, it won’t last anywhere near that long.
Graveyard and Monster-Themed Bark Ideas for the Table
🎃 Products We Recommend:
🎃 Halloween Candy Melts 3 LB, Orange, Dark Chocolate & White Melting Wafers — This all-in-one Halloween color set of orange, dark chocolate, and white melting wafers is perfect for creating festive layered candy bark in classic Halloween hues.
🍫 Hoosier Hill Farm Chocolate Melting Wafers, 2LB — With a top-rated 4.7 stars and 275 reviews, these reliable chocolate melting wafers are an excellent base for any Halloween candy bark recipe.
👁️ Sweets Indeed Halloween Sprinkles with Candy Eyeballs, 4 ounces — These highly-rated Halloween sprinkles with candy eyeballs are the perfect spooky topping to finish off homemade Halloween candy bark.
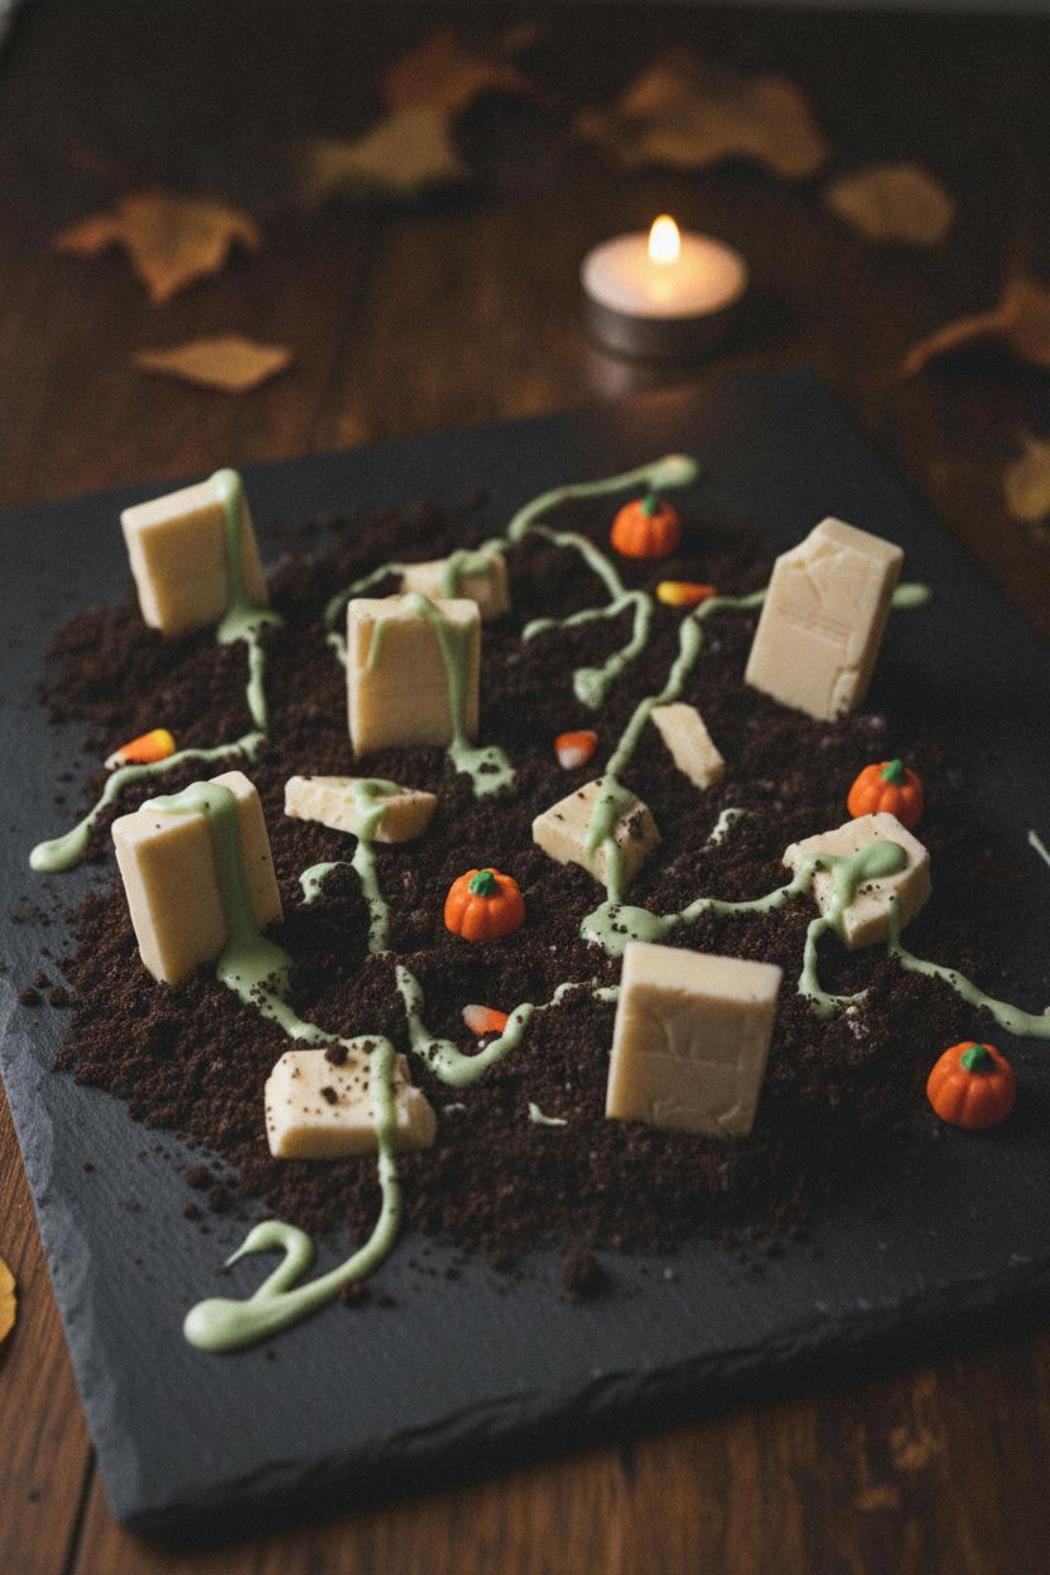
When it comes to dressing up your Halloween dessert table, nothing makes a statement quite like a slab of spooky chocolate bark that looks almost too good to smash. Graveyard and monster-themed designs are the sweet spot — they’re dramatic enough to earn gasps from guests, but still simple enough to pull off on a Tuesday night with a bag of white chocolate chips and whatever candy you’ve been hoarding since September. These are the easy Halloween candy bark recipes that belong front and center, not tucked in the corner next to the paper napkins.
For a graveyard scene, start with a dark chocolate base — the deeper and richer, the better. Pour it onto a parchment-lined baking sheet and let it set just enough to hold its shape before pressing in your decorations. Rectangular shortbread cookies or Milano cookies become instant tombstones. Write “RIP,” “BOO,” or your guests’ names on them with white royal icing or an edible marker. Crumbled Oreos make the most convincing cemetery dirt you’ve ever tasted, and a few gummy worms half-buried beneath the surface adds that perfectly unsettling finishing touch. It’s theatrical, it’s delicious, and it looks like you spent way more time on it than you did.
Monster-themed bark plays by a slightly different rulebook. Think googly candy eyes on a vivid green white chocolate base for a Frankenstein vibe, or swirl purple and black melting wafers together for a more abstract, creature-of-the-night aesthetic. These halloween bark ideas translate especially well when you’re making batches for kids — the color payoff is immediate and the assembly is genuinely fun. Let the little ones press in the candy eyes and sprinkle the monster hair (shredded coconut dyed black works brilliantly) while you handle the melting and pouring. Everyone gets a role, nobody gets burned, and the final product looks like it belongs in a boutique candy shop window.
The real secret to making these designs land? Restraint. It’s tempting to pile on every Halloween-themed candy in your pantry, but a focused color palette and two or three hero decorations will always outperform a chaotic sugar explosion. Deep chocolate, bold contrasting whites or greens, one textural element, and one standout topper — that’s the formula. These no bake halloween desserts set up in the fridge in under an hour, snap into dramatic shards for serving, and keep well in an airtight container for up to a week. Make them two days ahead, store them in layers between parchment, and walk into Halloween night like the host who had it together all along.
No-Bake Halloween Bark Kids Can Actually Decorate
🎃 Products We Recommend:
🎃 Halloween Candy Melts 3 LB, Orange, Dark Chocolate & White Melting Wafers — This all-in-one Halloween color set of orange, dark chocolate, and white melting wafers is perfect for creating festive layered candy bark in classic Halloween hues.
🍫 Hoosier Hill Farm Chocolate Melting Wafers, 2LB — With a top-rated 4.7 stars and 275 reviews, these reliable chocolate melting wafers are an excellent base for any Halloween candy bark recipe.
👁️ Sweets Indeed Halloween Sprinkles with Candy Eyeballs, 4 ounces — These highly-rated Halloween sprinkles with candy eyeballs are the perfect spooky topping to finish off homemade Halloween candy bark.
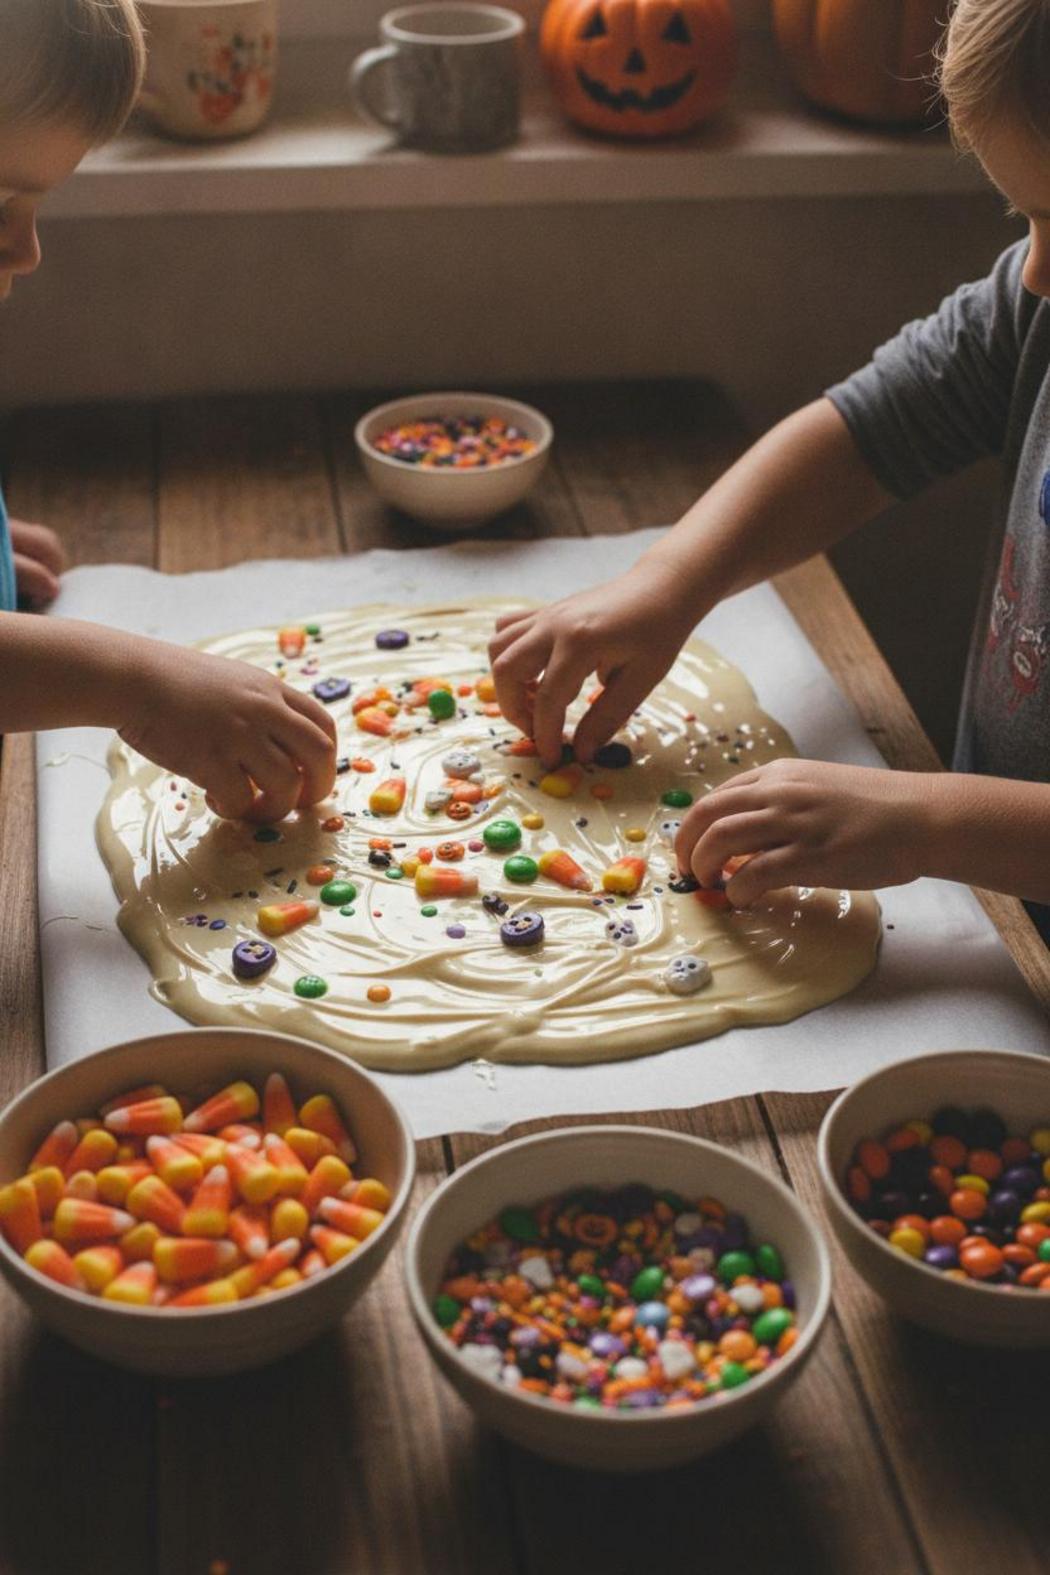
Here’s the thing about Halloween parties — the most memorable moments aren’t always the ones you planned down to the last black cat candle. Sometimes they’re the ones where you handed a nine-year-old a bag of candy eyeballs and said, “go wild.” That’s exactly the energy behind no-bake Halloween bark, and it’s honestly one of the smartest moves you can make this October. No oven, no complicated techniques, no stress — just melted chocolate, a sheet of parchment, and a whole lot of spooky imagination.
These easy Halloween candy bark recipes work because they put kids in the driver’s seat without putting you in crisis mode. The base is simple: melt white or dark chocolate, spread it thin, and let the decorating begin. From there, you’re looking at a canvas that can become a graveyard scene with crushed Oreo dirt and candy tombstones, a monster mash explosion of green-tinted chocolate and gummy worms, or an orange-and-black swirl that looks like it came straight out of a professional candy shop. The results are wildly different every single time, which is kind of the whole point.
What makes this format so effective for group activities is the low barrier to entry. You don’t need pastry skills or a steady hand. You need toppings — and the more chaotic the spread, the better. Set out bowls of Halloween sprinkles, mini Reese’s Pieces, candy corn, pretzel pieces, and those little sugar skulls you’ve been hoarding since last year. Let kids claim their section of bark and go from there. The spooky candy treats that come out of this process are usually far more creative than anything you’d find pre-packaged at the store.
Timing-wise, bark sets fast — usually within 20 to 30 minutes in the fridge — which means it fits neatly into the chaos of a Halloween party without demanding your full attention. You can prep the melted chocolate base ahead of time, keep it warm, and then unleash the decorating station right when energy levels peak. It’s also forgiving in a way that most desserts aren’t. Uneven spreading? That’s rustic. A candy eyeball that slid to the corner? That’s character. There’s genuinely no wrong way to do it.
If you want to level up the presentation, break the finished bark into jagged, irregular pieces rather than cutting it into neat squares. The broken edges look dramatically more Halloween-appropriate — sharp, unpredictable, and a little dangerous-looking in the best possible way. Stack them on a dark platter, dust with a little edible black glitter if you’re feeling theatrical, and watch them disappear within minutes. No-bake Halloween desserts don’t get more crowd-pleasing than this, and the best part is that the kids made it themselves — which means they’ll be talking about it long after the last piece is gone.
Tools and Ingredients That Make Halloween Bark Easier
🎃 Products We Recommend:
🎃 Halloween Candy Melts 3 LB, Orange, Dark Chocolate & White Melting Wafers — This all-in-one Halloween color set of orange, dark chocolate, and white melting wafers is perfect for creating festive layered candy bark in classic Halloween hues.
🍫 Hoosier Hill Farm Chocolate Melting Wafers, 2LB — With a top-rated 4.7 stars and 275 reviews, these reliable chocolate melting wafers are an excellent base for any Halloween candy bark recipe.
👁️ Sweets Indeed Halloween Sprinkles with Candy Eyeballs, 4 ounces — These highly-rated Halloween sprinkles with candy eyeballs are the perfect spooky topping to finish off homemade Halloween candy bark.
Before you even think about melting chocolate, let’s talk about setting yourself up for success — because the difference between gorgeous Halloween bark and a sticky, streaky mess often comes down to having the right tools on hand. You don’t need a professional pastry kitchen, but a few key items will make the whole process smoother, faster, and a lot more fun when the kids are hovering nearby waiting to decorate.
Start with a quality rimmed baking sheet — a standard half-sheet pan works perfectly — lined with parchment paper or a silicone baking mat. Parchment is the move here; it peels away cleanly and gives your bark that satisfying snap when you break it apart. For melting chocolate, a microwave-safe bowl and a silicone spatula are your best friends. Melt in short 30-second bursts, stirring in between, and you’ll avoid the scorched, grainy chocolate that no amount of Halloween spirit can save.
Now for the fun part: ingredients. The foundation of most easy Halloween candy bark recipes is melting wafers or high-quality white and dark chocolate chips. Melting wafers (sometimes sold as candy melts) come in orange, black, purple, and green — which means half your spooky color work is already done before you’ve added a single topping. If you prefer real chocolate for a richer flavor, go for it, but know that you’ll want to add a teaspoon of coconut oil to keep the texture smooth and pourable.
For toppings, think in layers: a base of Halloween sprinkle blends, then your statement pieces. Candy eyes are practically mandatory for these spooky candy treats — they turn even a simple slab of chocolate into something that stares back at you. Crushed Oreos, candy corn, mini Reese’s cups, gummy worms, and Halloween M&Ms all make excellent additions. Keep a few bowls prepped and sorted before you start, because once that chocolate is poured, you’re on the clock.
One more tool worth mentioning: an offset spatula. It’s the secret weapon for spreading melted chocolate into an even layer without disturbing your parchment or dragging toppings through the base. A butter knife can work in a pinch, but the offset spatula gives you control and a satisfyingly smooth surface — the kind that makes your Halloween bark ideas look like they came straight from a bakery display. Get everything laid out before the chocolate hits the pan, and you’ll be the most composed person in the room, even with a kitchen full of excited kids.
Conclusion
There you have it — 15 easy Halloween candy bark recipes that prove you don’t need to be a professional pastry chef to wow the neighborhood kids. These treats come together fast, look absolutely spooktacular, and taste even better than they look. Pick two or three of these recipes, stock up on melting wafers this weekend, and you’ll have your treat table sorted before the jack-o’-lanterns are even carved. Halloween entertaining has never been this deliciously simple — or this much fun to make with little ones by your side.
Save this guide for later and pin it to your board! 🎃
As an Amazon Associate I earn from qualifying purchases.